



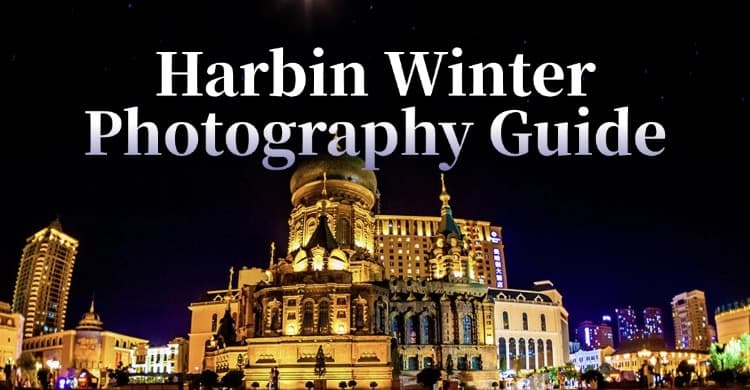
Harbin Winter Photography Guide: Locations, Timing and Camera Care
Use daylight for snow-sculpture detail and historic streets, then choose one location for the transition into evening. Harbin's illuminated ice buildings offer plenty to photograph, but short days reward a selective route. Reaching your chosen scene with time to look around matters more than collecting every viewpoint.
This Harbin winter photography guide covers six accessible locations, simple techniques for phones and cameras, and the equipment care needed when moving between cold streets and heated rooms. Plan a warm meal and indoor recovery into each day, rather than photographing continuously from sunrise until late evening. For winter 2026–2027, check seasonal opening announcements and your equipment's temperature limits before finalising the itinerary. Neither a calculated sunset nor a photograph from a previous season establishes when a park will switch on its lights.
Where to Photograph Harbin in Winter
These Harbin photography spots cover different subjects without requiring a specialist lens. Choose the scenes you value most, then group visits geographically.
| Location | What to photograph | Useful time | Main consideration |
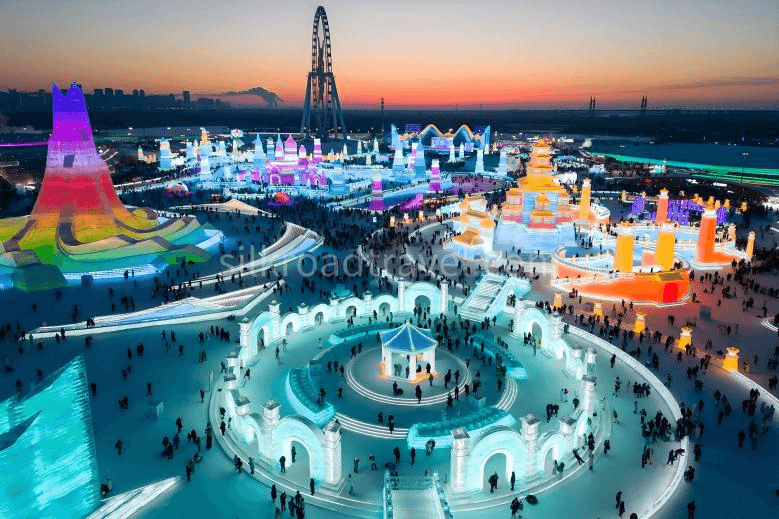
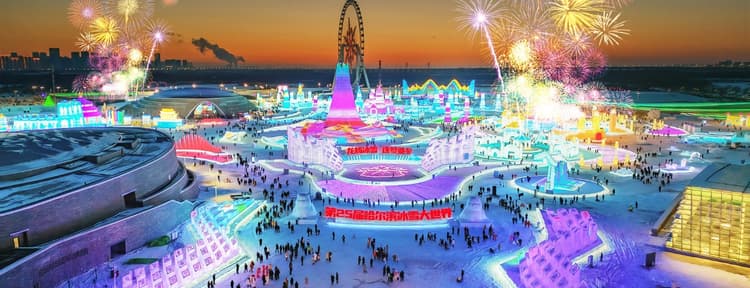
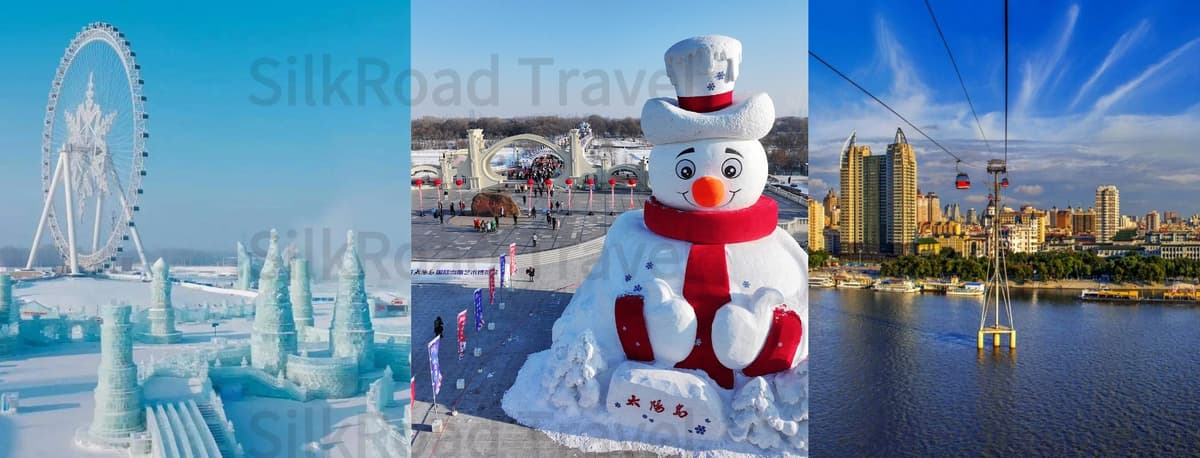
| Ice and Snow World | Illuminated ice architecture and people for scale | Transition into evening or night | Seasonal admission and lighting arrangements |
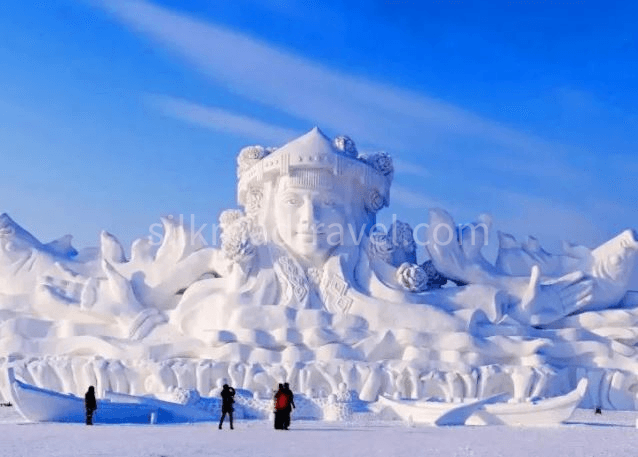
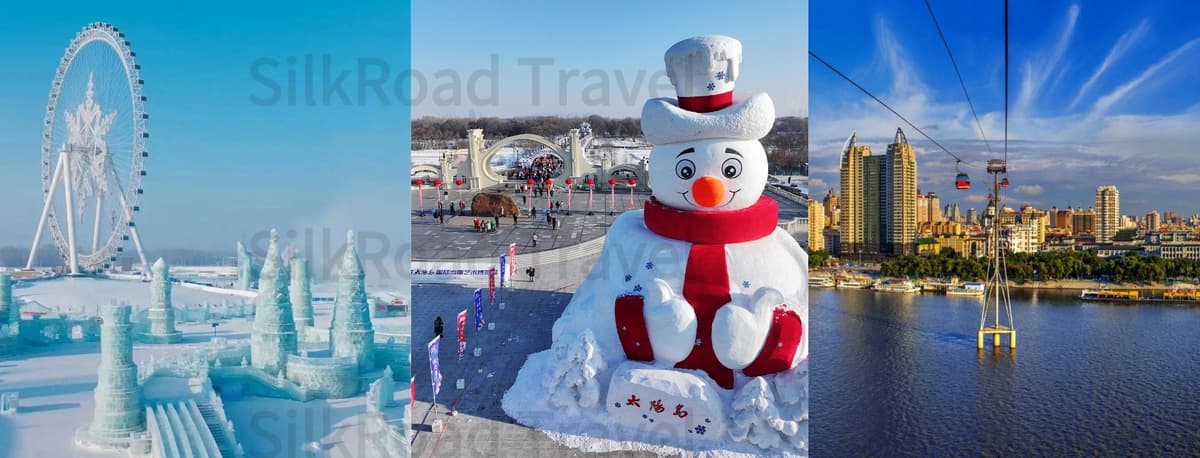
| Sun Island Snow Expo | Large snow sculptures and carved details | Daylight | Separate seasonal opening schedule |
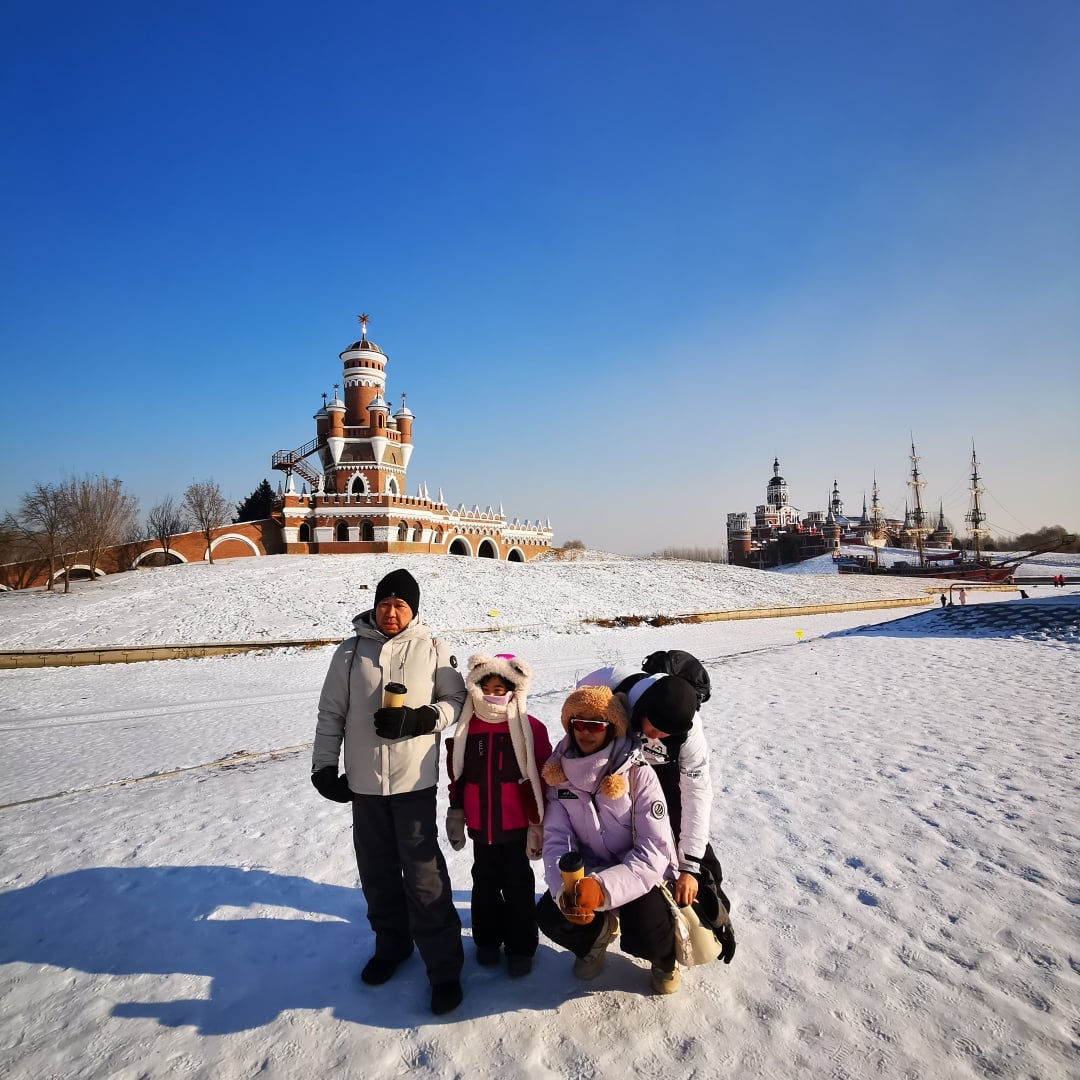
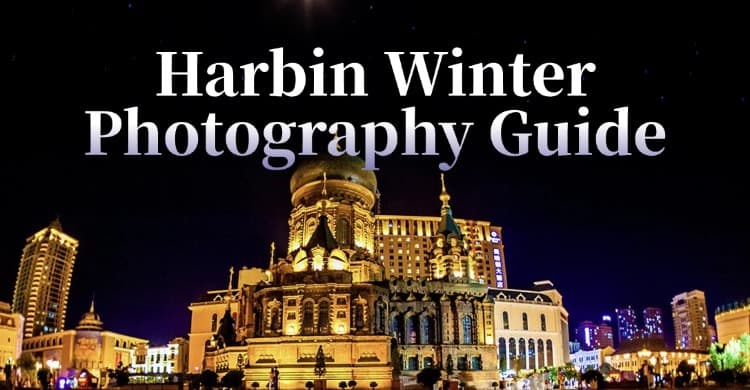
| Saint Sophia Cathedral and Square | Domes, brickwork and architectural portraits | Daylight; dusk if lighting is operating | Public access and any interior admission |
| Central Street | Facades, street scenes and shopfronts | Daylight or early evening | Pedestrian flow and indoor breaks |
| Songhua River waterfront | River views, skyline and winter atmosphere | Afternoon or around sunset | Use permitted land-side paths |
| Laodaowai / Chinese Baroque Historic Area | Facades, doors and street-level details | Daylight | A separate stop; respect private premises |
The 28th Ice and Snow World announcement confirms plans for the new season but does not give an opening day. As of 15 October 2026, the opening dates for it and the next Sun Island Snow Expo were not confirmed in the official material checked. Treat both as conditional visits until their notices are available.
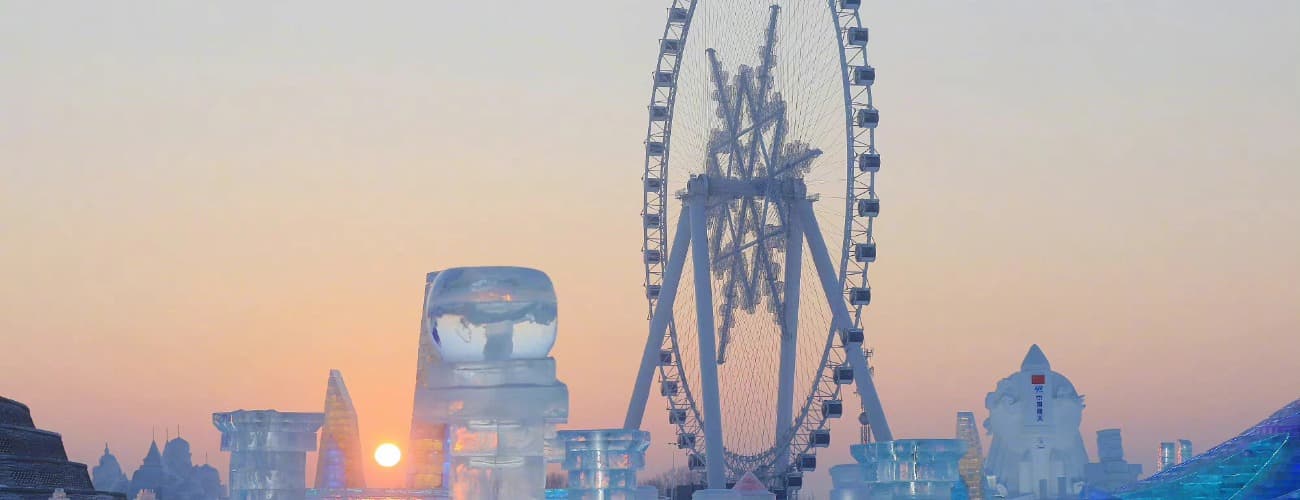
Ice and Snow World
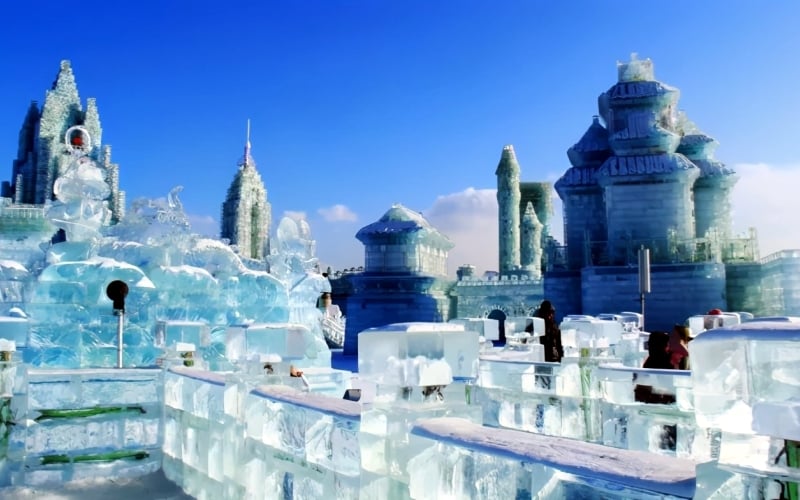
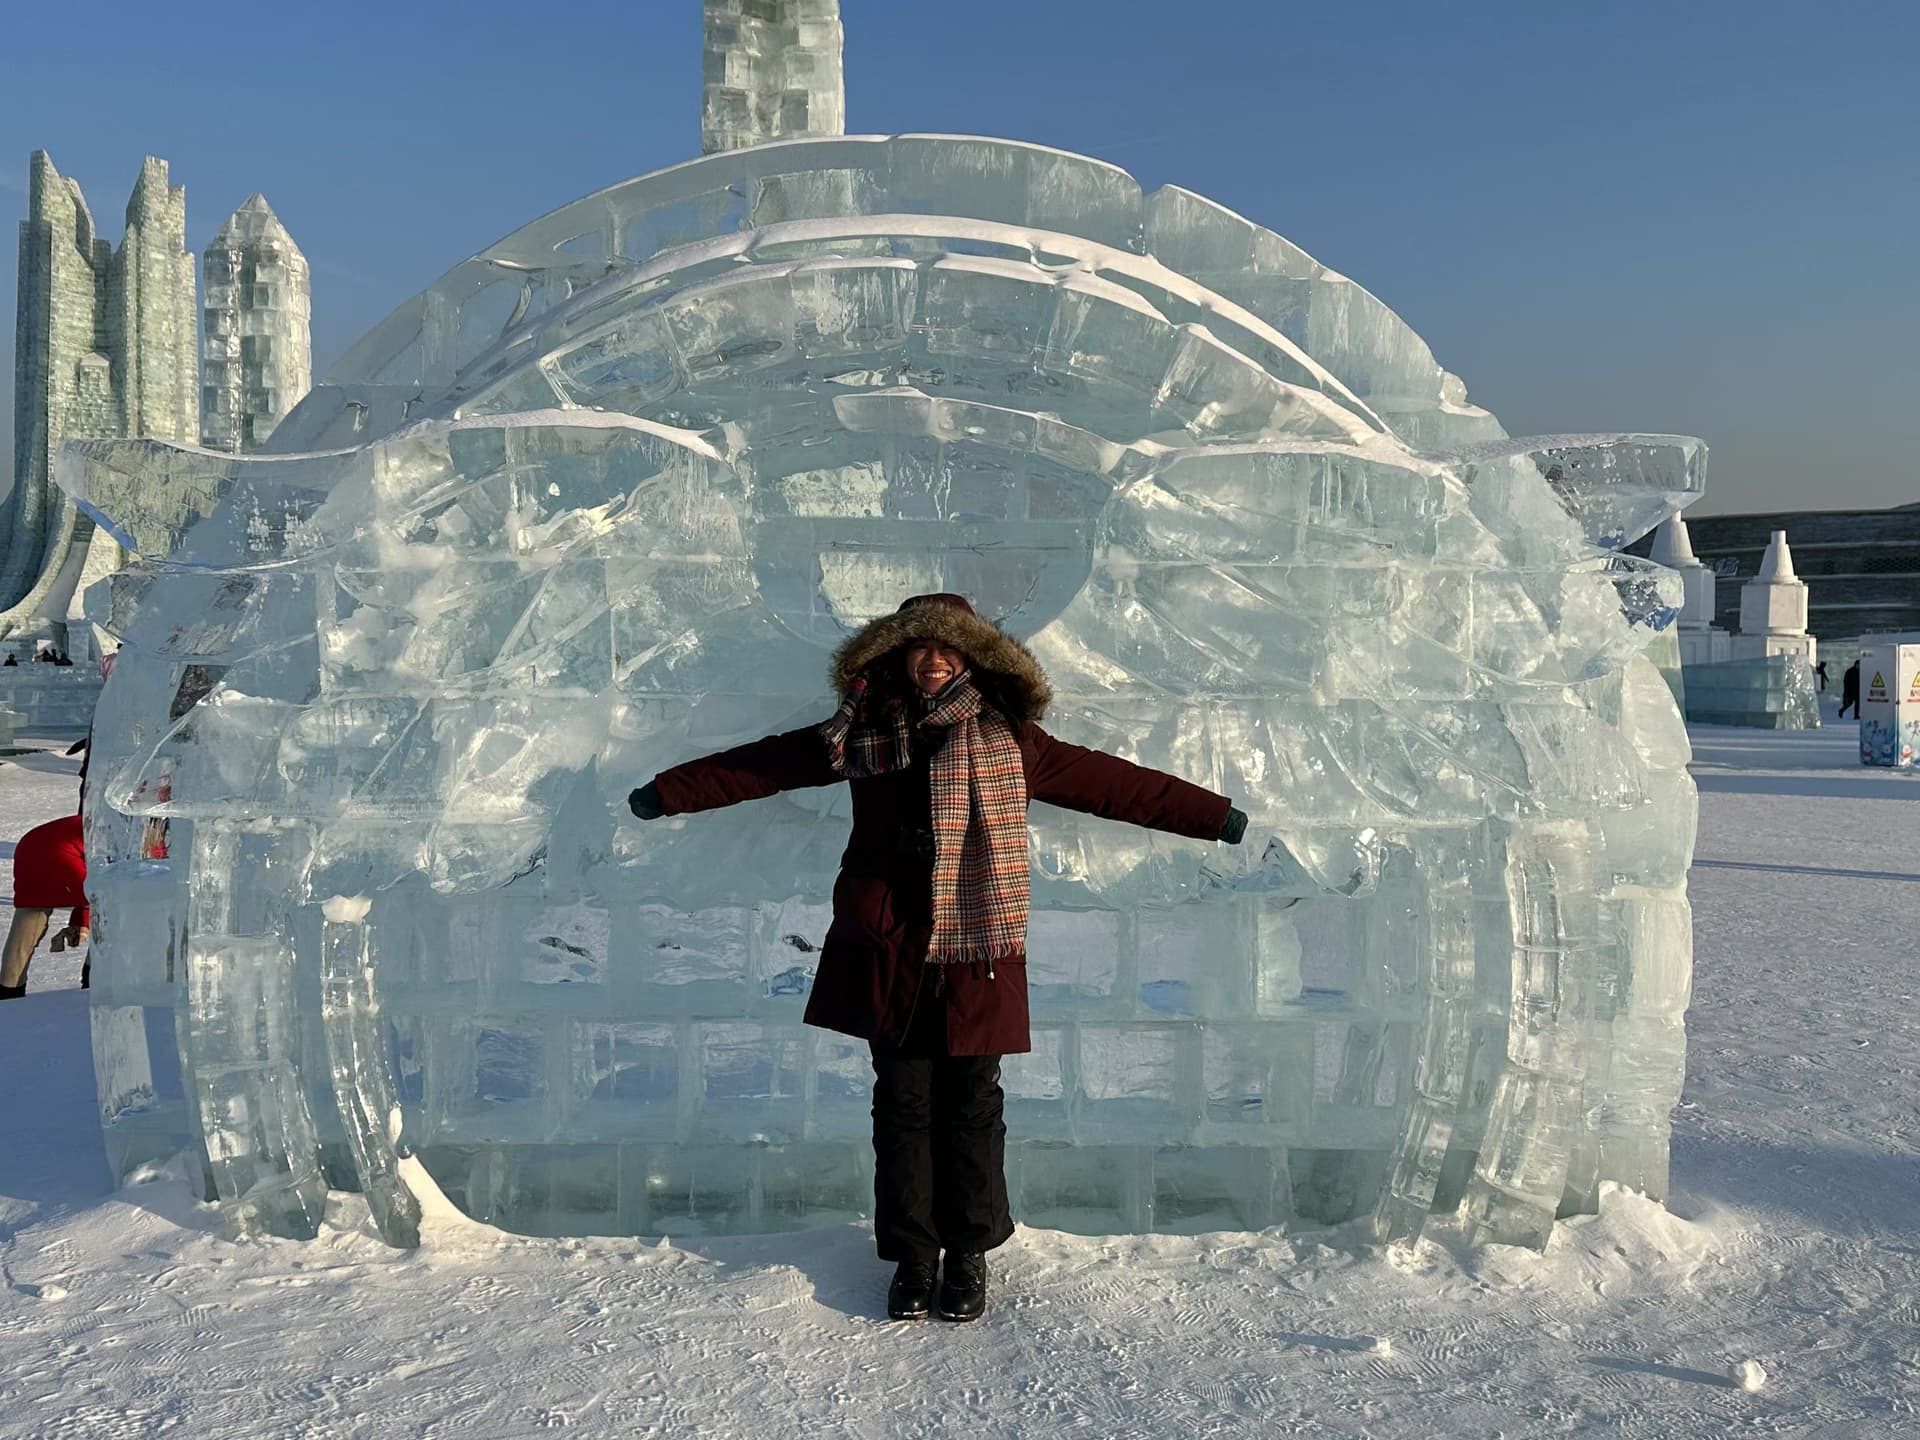
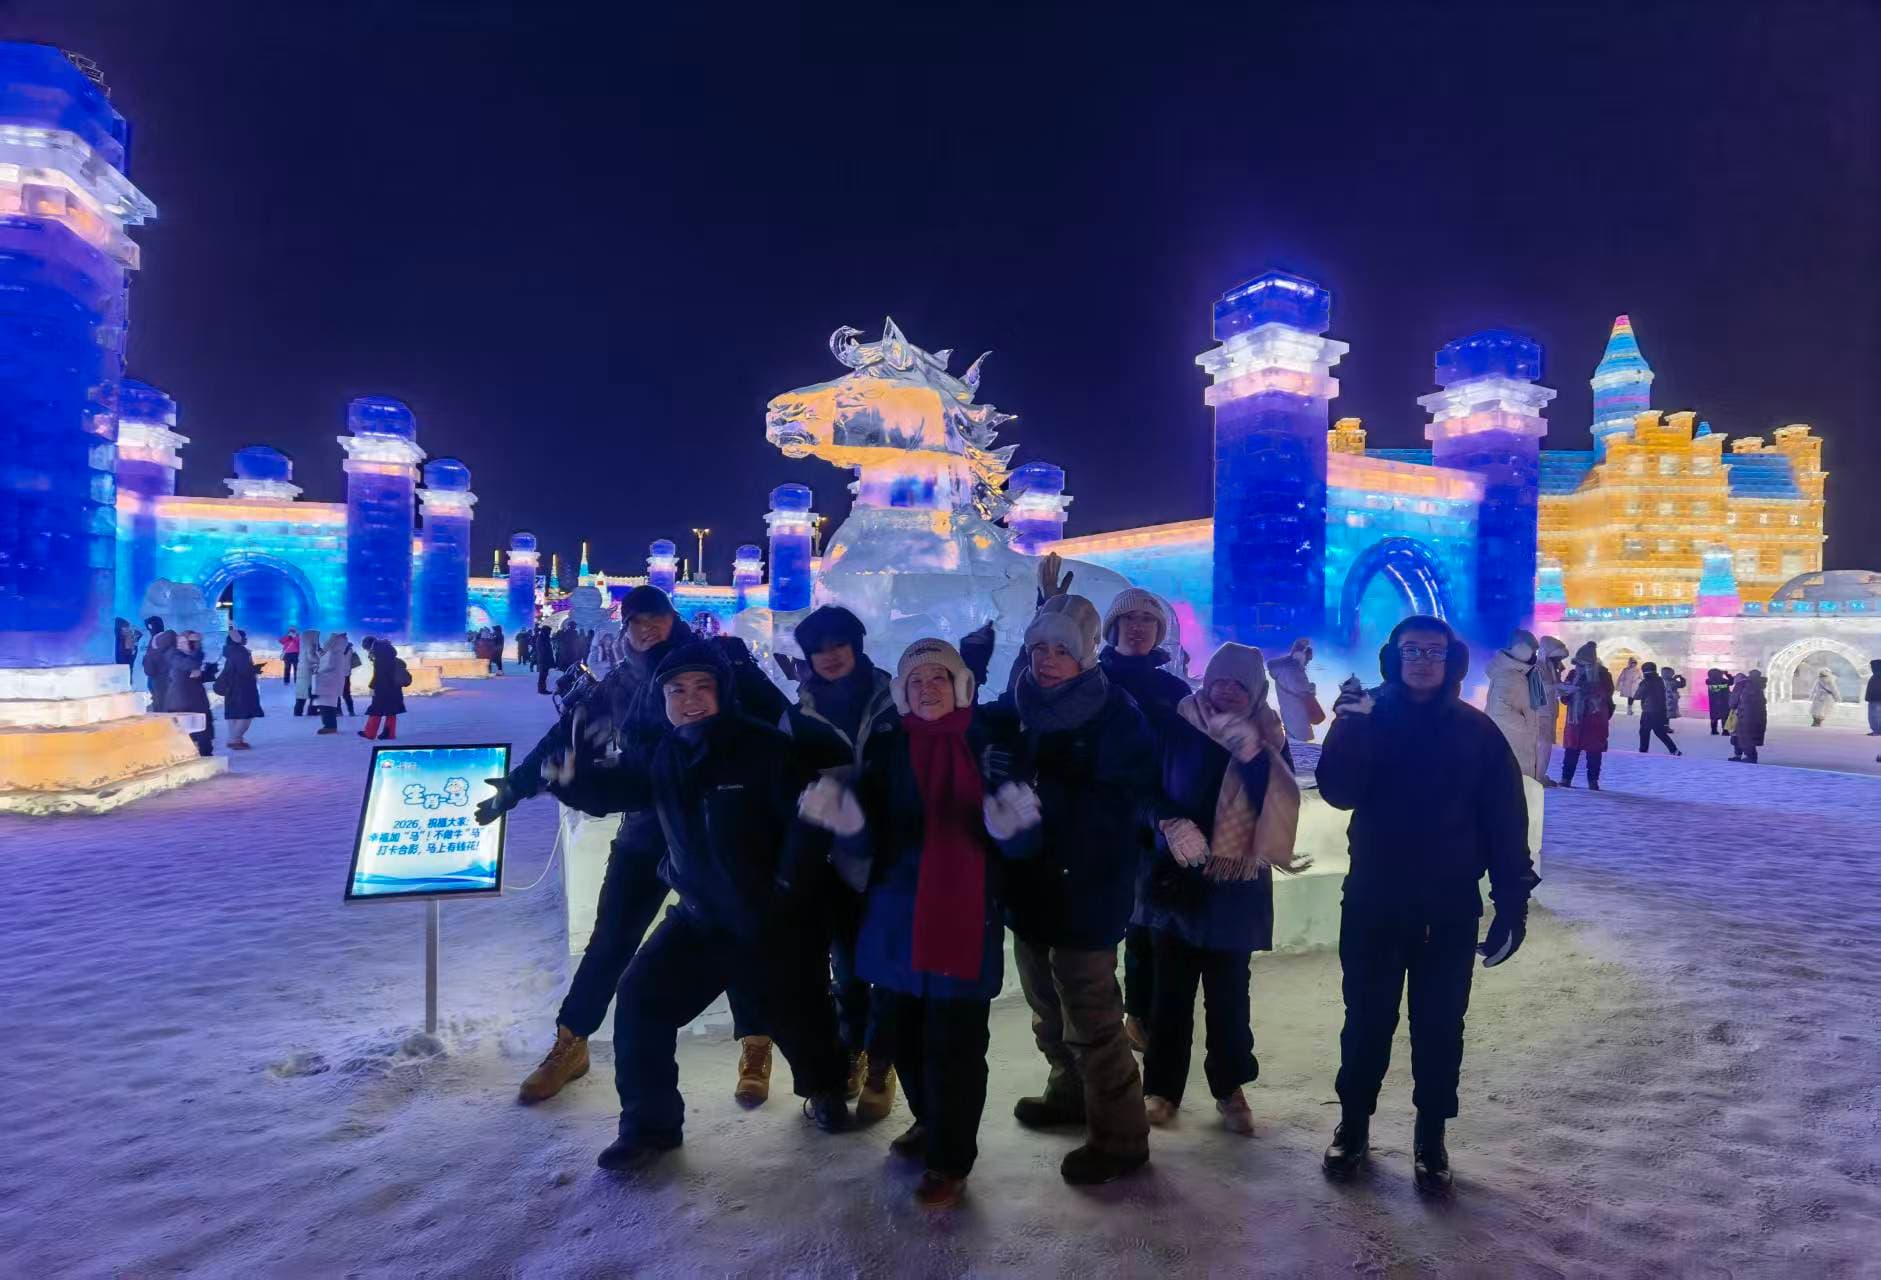
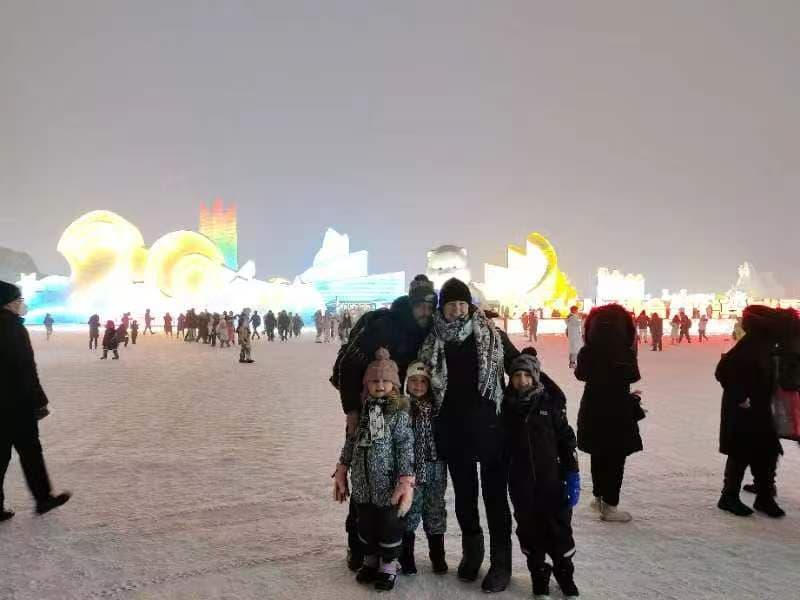
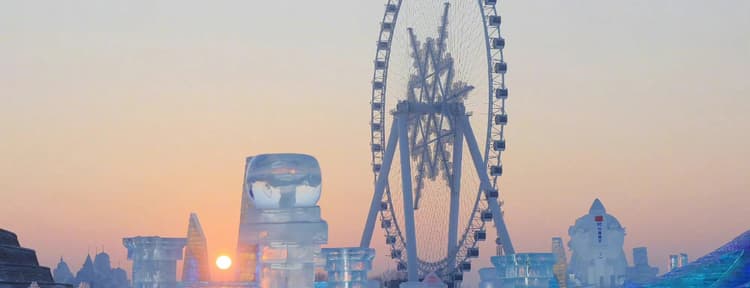
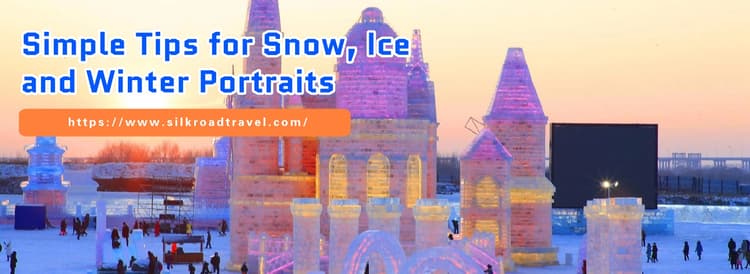
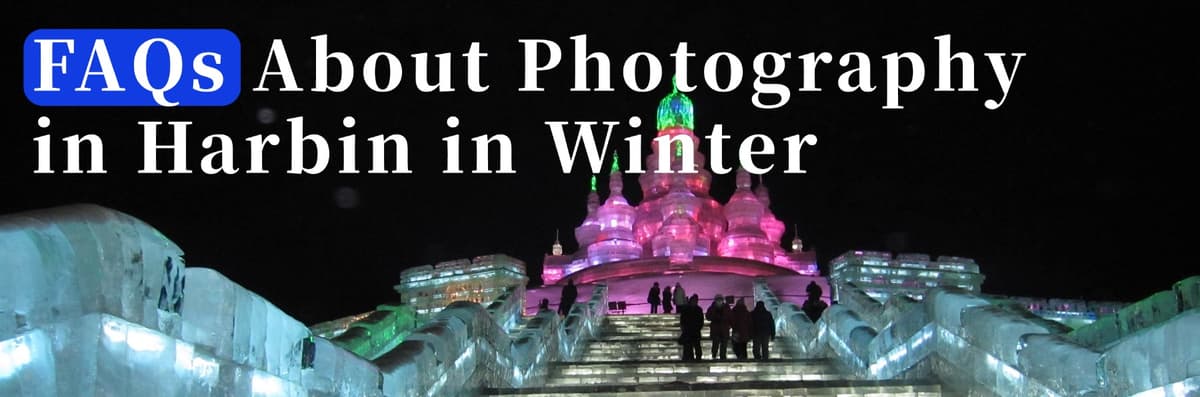
Use a foreground edge and a few visitors to show the ice buildings' depth and scale. At night, look for an angle where bright structures do not overlap into one patch of light.
Check the day's admission, closing and lighting arrangements through the official park website. Allow for queues, walking and finding an indoor rest stop; arrival at the entrance is not arrival at your composition.
Sun Island Snow Expo
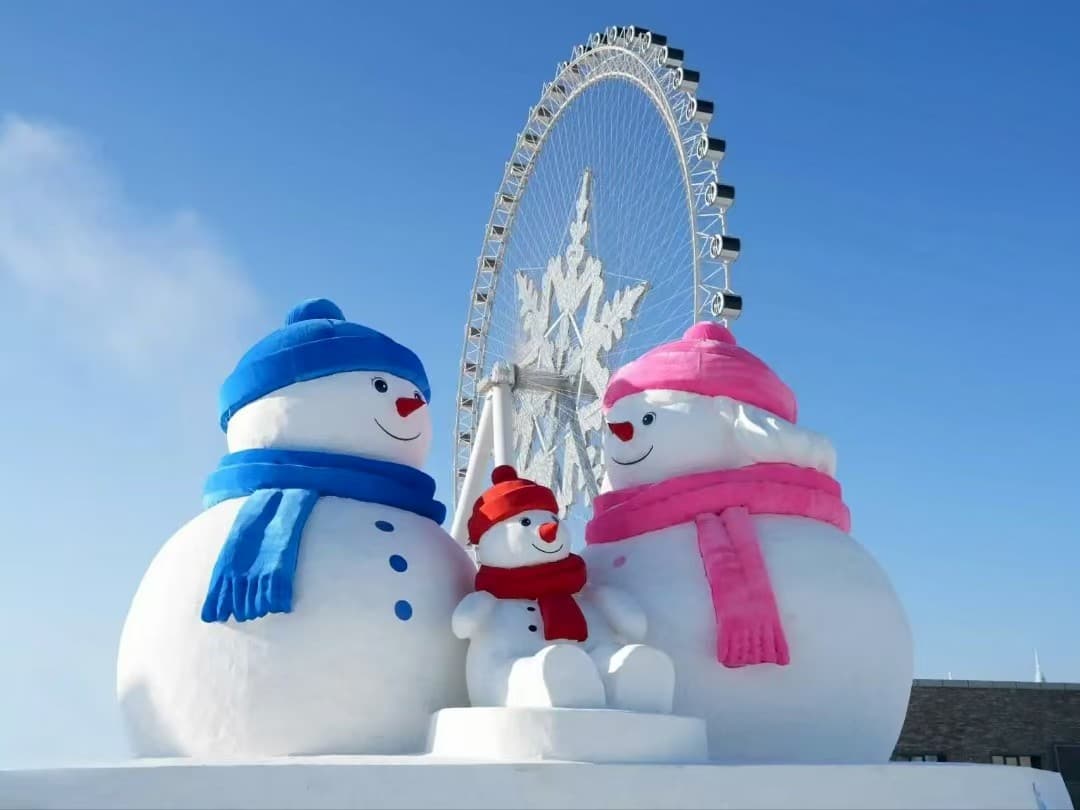
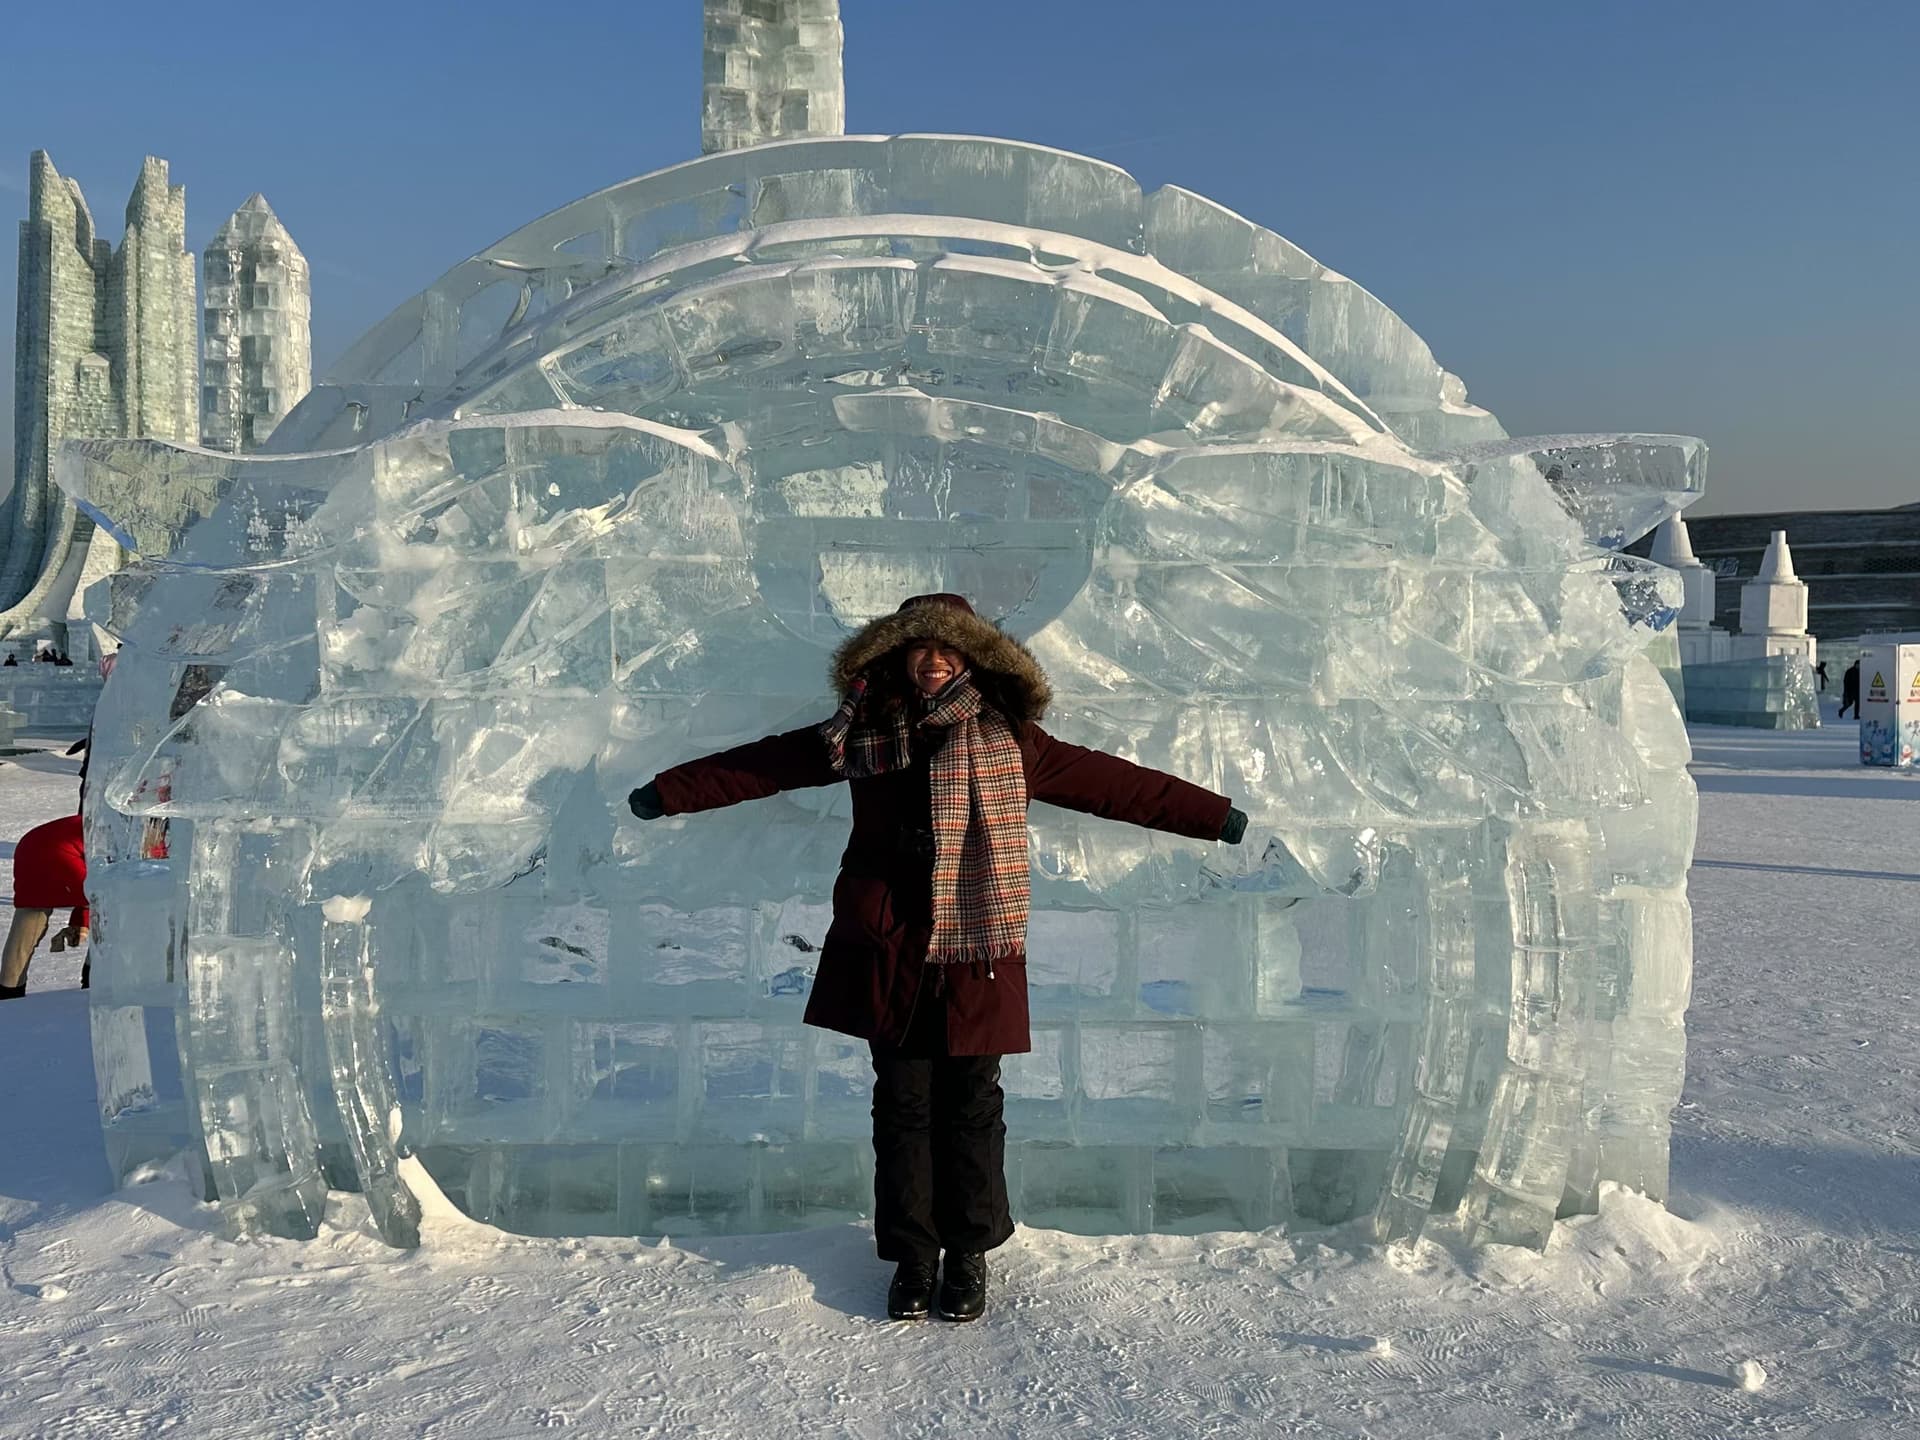
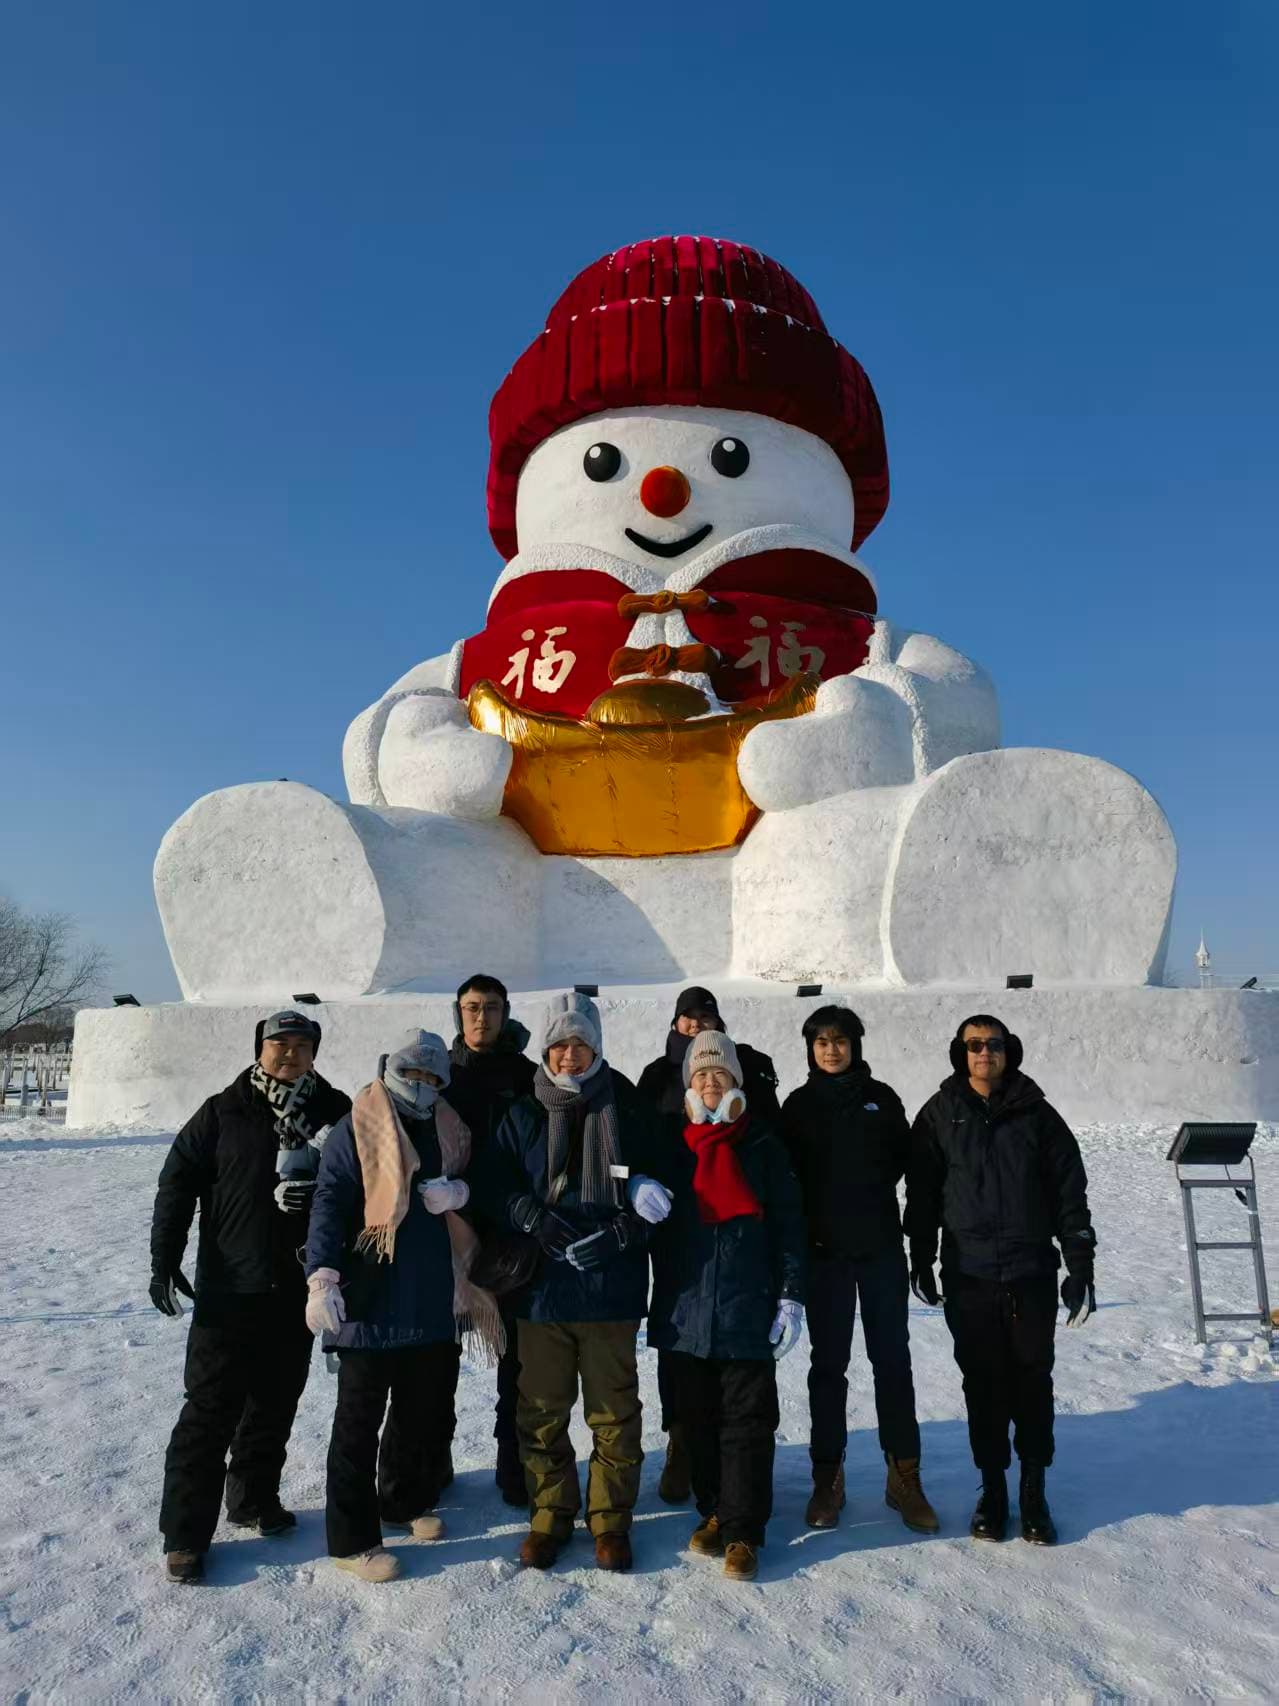
Daylight reveals carved surfaces and edges. Take a wide scene, then isolate a face or curve; a person can give scale without obscuring the work. Overcast light suits portraits, although low contrast may make fine relief less distinct.
Sun Island's general access does not establish that the seasonal exhibition is open. The previous Expo began trial operation on 27 December 2025 and formally opened on 31 December; neither date confirms this winter's schedule.
Saint Sophia Cathedral and Square
Leave space around the dome rather than cutting it against the frame. For a portrait, position the person off-centre so the architecture remains readable. Keep the camera reasonably level to reduce the impression of walls leaning backwards.
Photograph from permitted public areas. Check separate access or ticket arrangements for the interior; this guide assumes no rooftop, balcony or special viewing platform.
Central Street
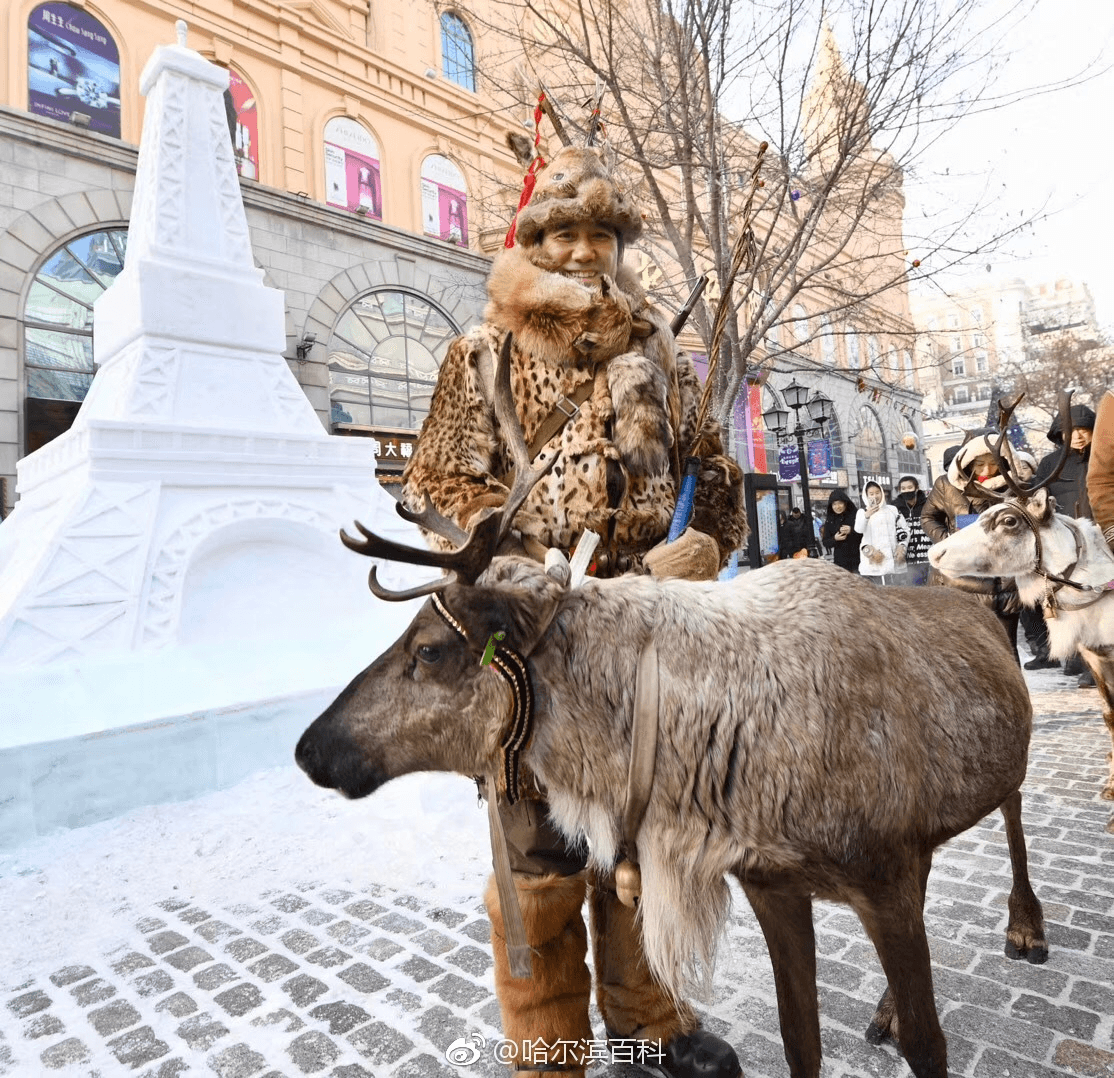
Photograph along the street, or simplify the scene to a doorway and a passing figure. For family pictures, step out of the main pedestrian flow before stopping.
The area also makes a useful meal-and-rest base. Choose a nearby café or restaurant in advance, so a short photography walk does not turn into a long search for somewhere warm.
Songhua River Waterfront
Near the Flood Control Monument and Stalin Park, open river views give more space to the sky. Choose a simple horizon and one foreground element, such as a railing. Wind can make even a short stop uncomfortable.
Photograph from permitted land-side paths. Frozen-looking water is not proof of safe access. Follow local barriers and notices, and do not step onto unverified river ice to improve an angle.
Laodaowai / Chinese Baroque Historic Area
Laodaowai offers decorative facades, shop entrances and smaller details. Daylight separates textures without depending on a lighting display. It can replace Central Street if older streets are your main interest.
Allow a separate outing. Ask before photographing inside shops or making close portraits, and do not assume a courtyard is public.
Choosing the Right Light: Daytime, Sunset and Blue Hour
Daylight is useful for white snow sculptures, building textures and moving people. Low sunlight can bring out relief through shadows; overcast conditions reduce harsh shadows on faces. Cloud does not cancel a photography day, although falling snow or poor visibility may change the practical route.
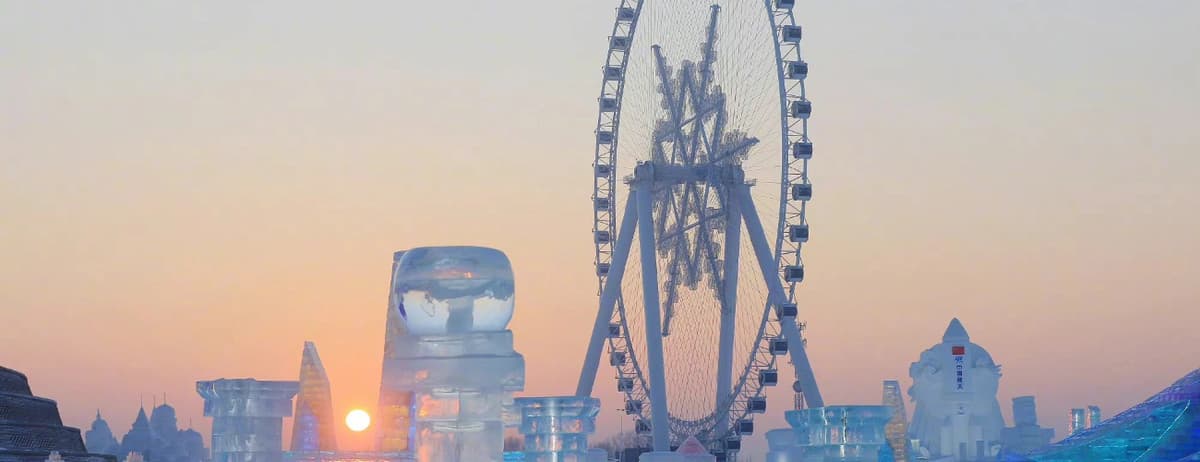
Blue hour is the twilight period before sunrise or after sunset when the sky can appear blue. It is not necessarily an hour long. If building lights are operating, the remaining sky brightness can help balance them; after dark, the contrast between lights and surroundings becomes stronger.
For a concrete planning reference, Timeanddate calculates sunset in Harbin at 15:51 on 21 December 2026 and 16:59 on 15 February 2027, using Beijing Time, UTC+8. See its December and February tables for your exact date. These are astronomical calculations, not weather forecasts, blue-hour guarantees or park lighting times.
Be at one chosen location before the light changes; a transfer or entry queue can use up twilight. Treat daylight snow and evening ice as separate priorities.
Photographing Ice and Snow World
Choose your emphasis before booking. Daylight shows the material and construction; transition light can retain colour in the sky; darkness emphasises illumination. Combining them requires the day's operating arrangements to permit the visit and a realistic plan for rest. Do not assume you can leave and re-enter on the same ticket.
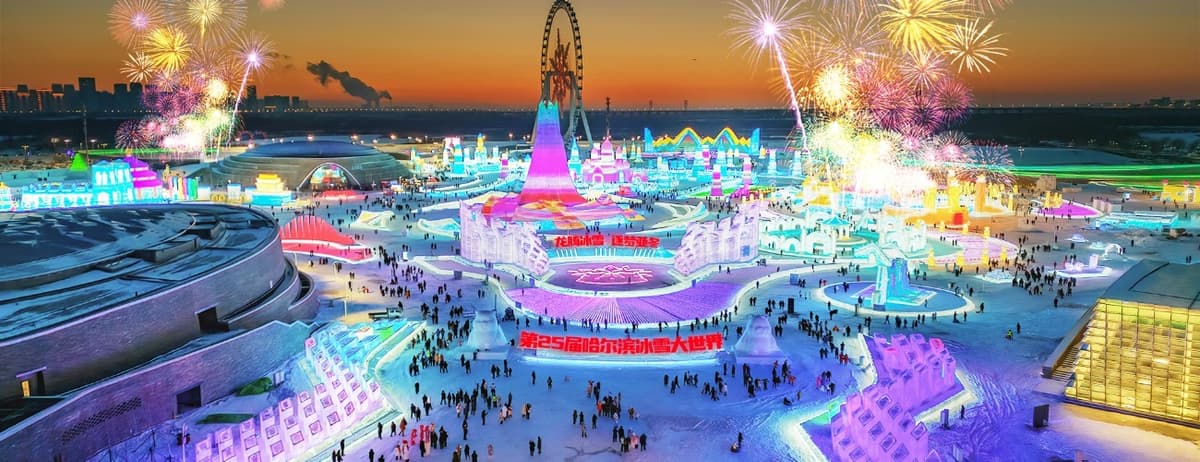
Photograph your priority scene before joining entertainment queues. Take a wide image, a closer detail and a companion picture, then move on instead of searching the whole park while everyone gets cold.
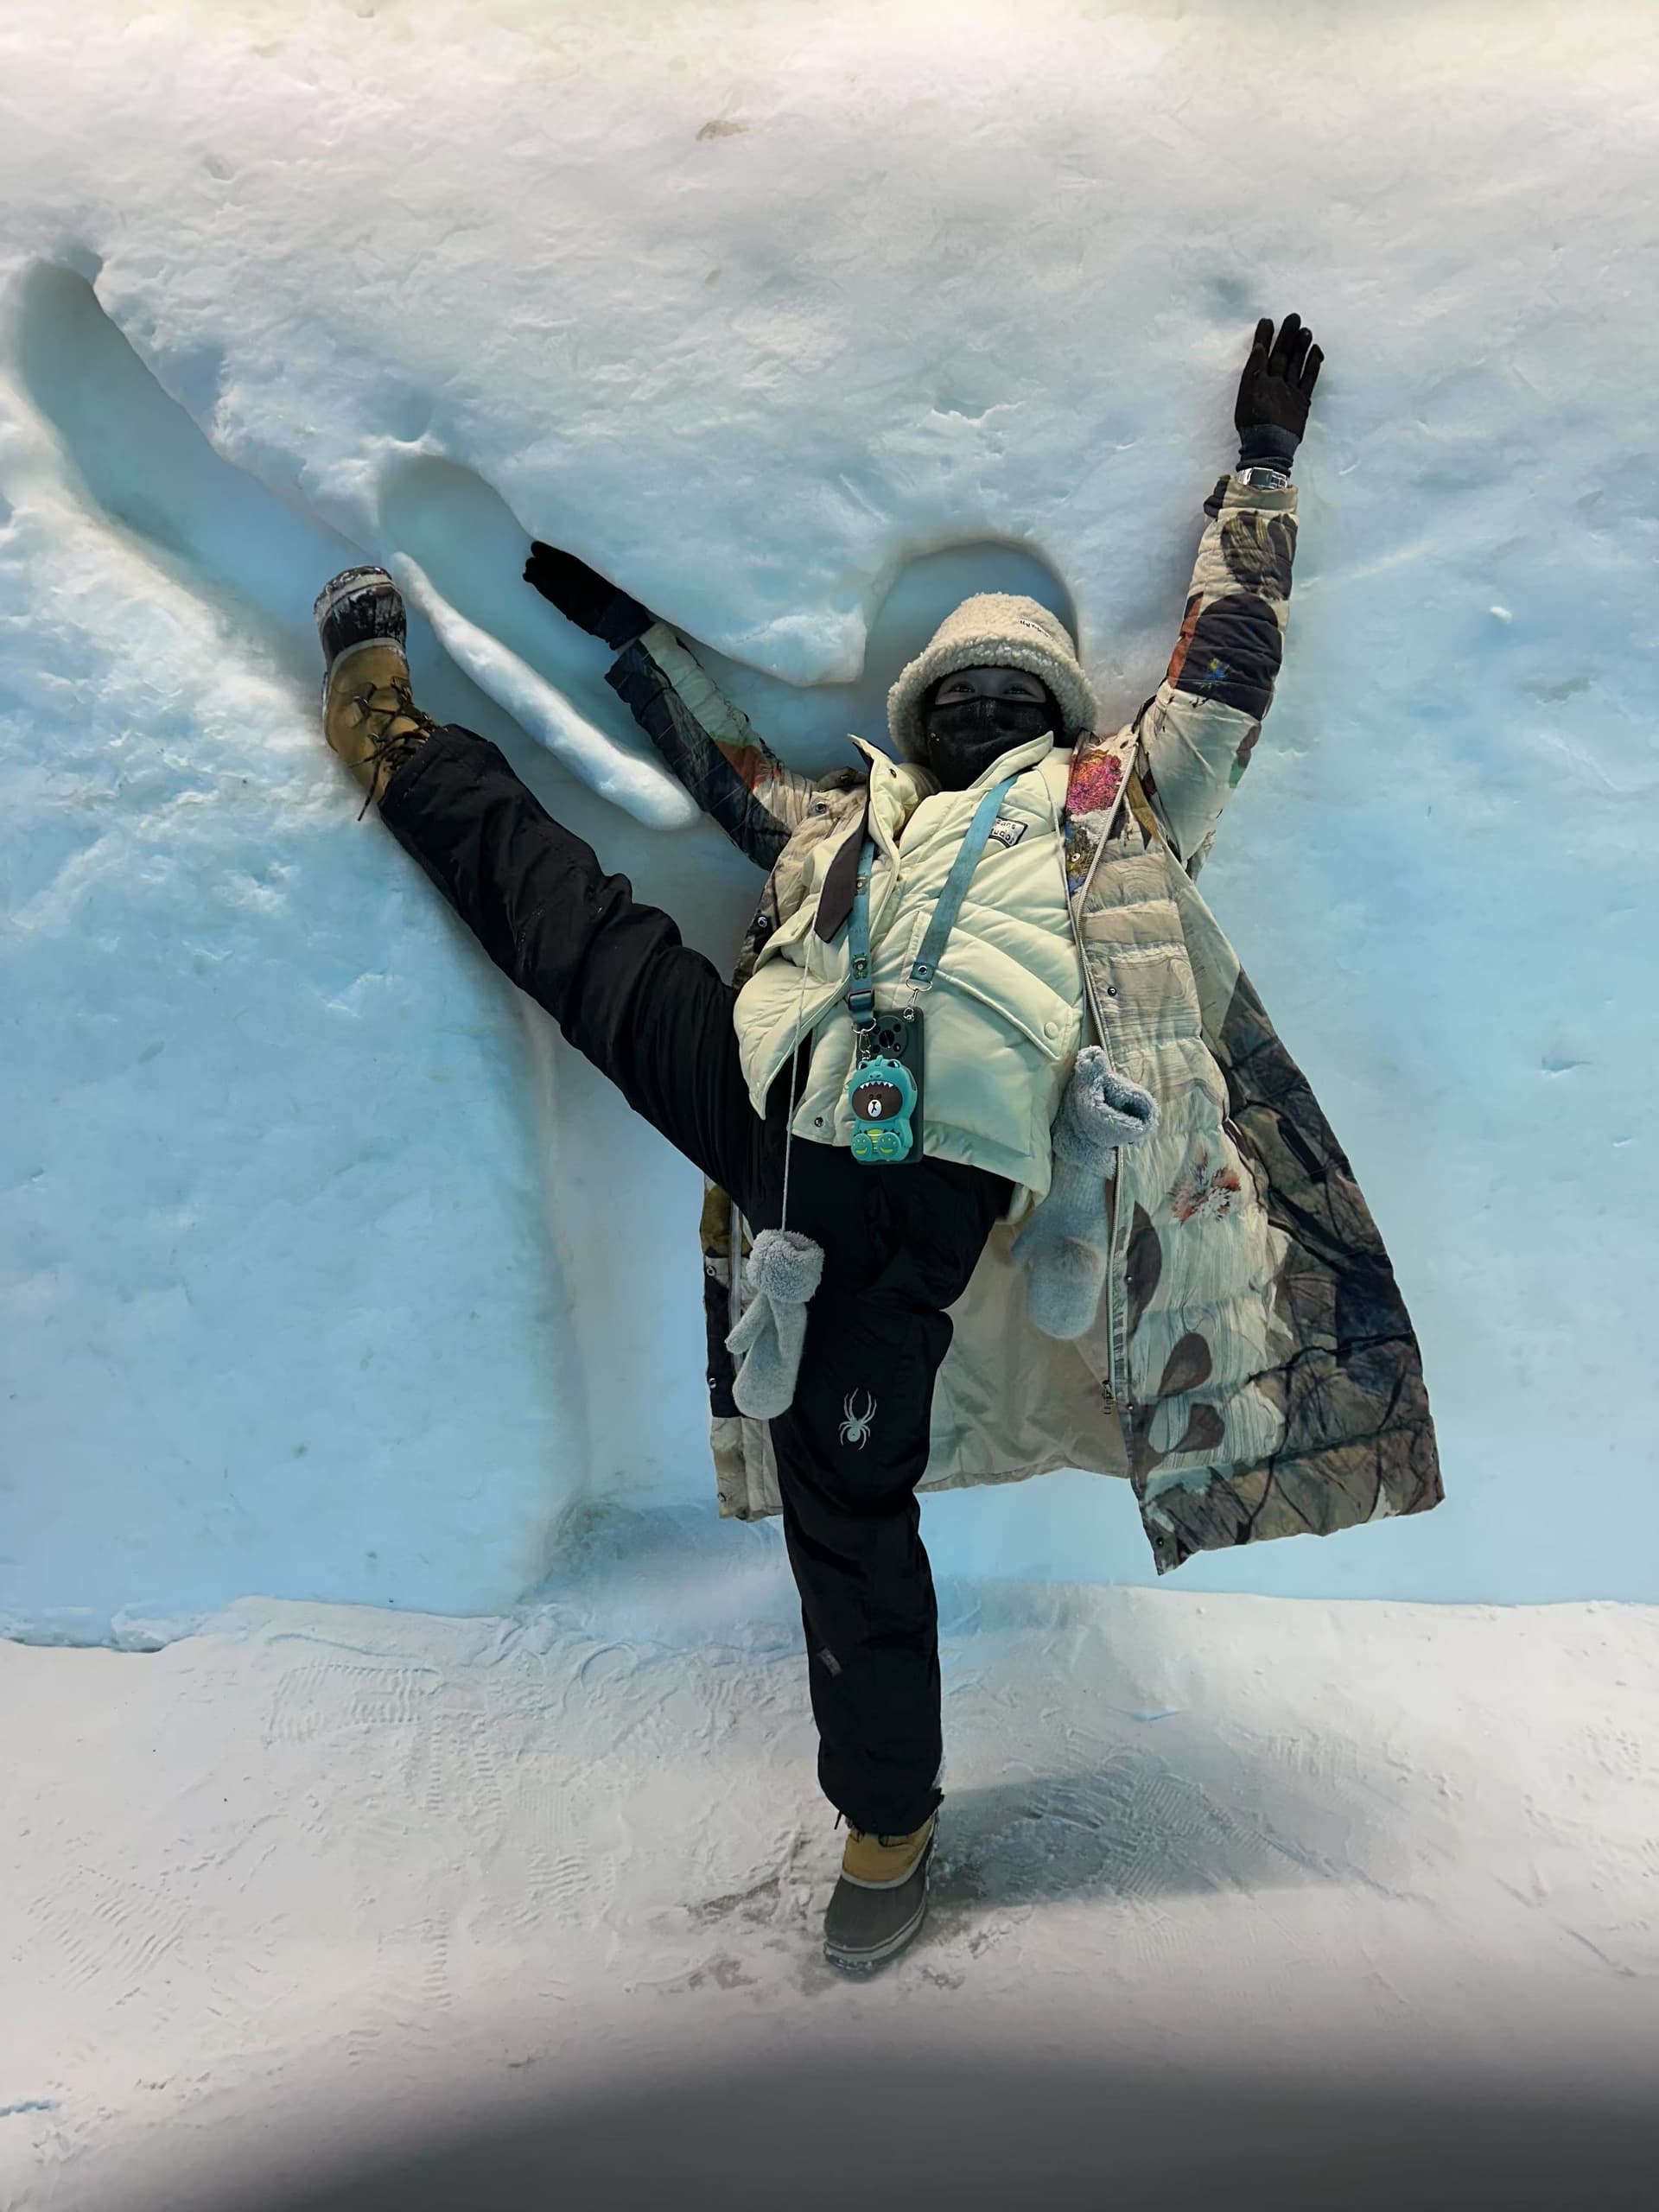
For bright ice and a dark foreground, check the preview for lost detail in the lights. Move your companion towards available, reasonably neutral light instead of raising the whole exposure until the ice becomes featureless. A small silhouette can also tell the story; every portrait does not need a brightly lit face.
Use people for scale without blocking paths or entering restricted areas. Confirm return transport before a night session. The Ice and Snow World guide provides context; current official notices govern operation.
Simple Tips for Snow, Ice and Winter Portraits
Snow sometimes looks grey because the camera's automatic metering tries to reduce a very bright scene towards an average brightness. Exposure compensation is a control that makes the automatic result lighter or darker. Following Canon's snow-photography guidance, try a small increase if the snow looks dull, then inspect the brightest areas for retained texture. Do not apply a fixed positive adjustment to every scene.
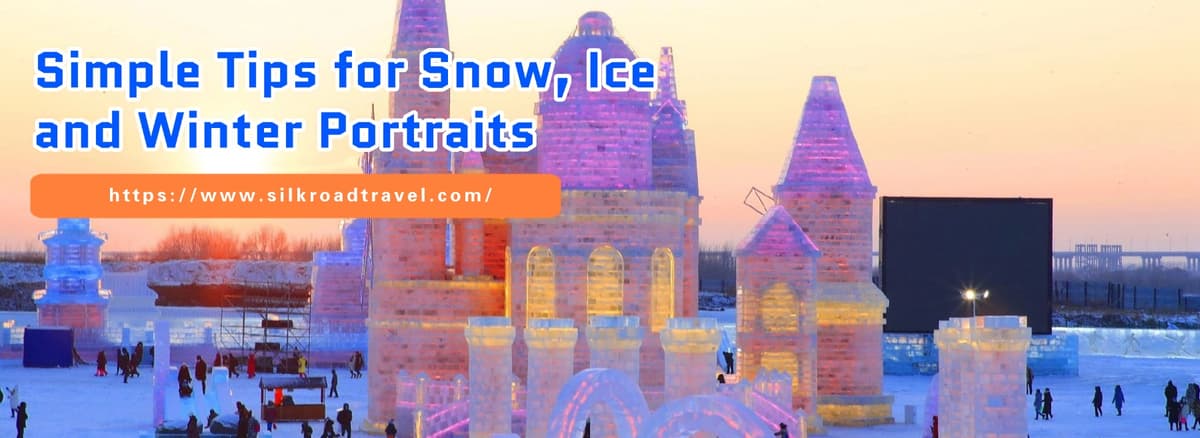
Ice reflects light, so move slightly to see whether a distracting reflection changes. For portraits, focus on the nearest eye or use a reliable face-detection mode. Take a short sequence if someone is moving, and check that the eyes are sharp before leaving.
At night, avoid placing a face between strongly different coloured lights if you want natural skin tones. Moving to a more evenly lit spot is often easier than correcting the colour later. Practise exposure and focus controls indoors, wear gloves you can operate them through, and prepare the composition before asking a companion to stand still.
Taking Better Photos with Your Phone
Start with a clean lens: Apple recommends a microfibre cloth when investigating blurry camera images. Check for fingerprints after taking the phone from a pocket. Do not try to rub away fog that may be inside the camera.
Use the main camera at its normal view where practical, then simplify the composition by changing your position safely. Avoid unnecessary digital zoom; a modest crop can be preferable to excessive enlargement. Exposure and focus controls vary by phone, so learn your model's method before travelling.
Night mode can help with stationary scenes, but it may collect light over several seconds. Apple's instructions stress keeping the phone steady; moving people can still blur. For a portrait, find more light and compare an ordinary photo rather than automatically choosing the longest night exposure.
Record short clips; long time-lapses commit battery and outdoor time. Clear storage beforehand, verify completed backups and keep essential transport details offline.
Camera Settings: Useful Starting Points
Automatic or semi-automatic modes are enough for many travel images. In aperture priority, usually labelled A or Av, you choose the lens opening and the camera sets the shutter speed. Auto ISO can help maintain workable exposure as the light changes, with higher ISO generally bringing more visible noise.
These are editorial starting points, not universal settings. They assume normal permitted access; adjust for lens focal length, stabilisation, subject movement and your camera's capabilities.
| Scene and support | Starting approach | What to check |
| Daylight snow sculpture, handheld; static subject | A/Av, around f/5.6–f/8, Auto ISO | Shutter speed must still suit your lens and handholding; check snow highlights |
| Illuminated ice, handheld; static architecture | Auto or A/Av; wider aperture if light is low | Check shake and bright lights; raise ISO rather than accepting unusable blur |
| Posed person, handheld | Shutter priority around 1/250 second as a test | Check face sharpness and exposure; movement may need faster shutter speeds |
| Static night architecture, tripod where permitted | Low ISO; adjust exposure time after a test frame | A long exposure can blur passing visitors; it does not freeze people |
Magnify a test image to check sharpness. If the light is unsuitable, change the composition or shorten the session rather than repeatedly adjusting settings with bare hands.
Batteries, Cold Weather and Condensation

Manage Batteries Within Their Limits
Low temperatures can reduce the power a battery can deliver, so the usable charge may appear to fall quickly. Nikon's cold-weather advice recommends starting charged and carrying spares in an inner pocket. Protect each spare's contacts with its terminal cover or an appropriate individual case; do not carry exposed contacts loose with keys or coins.
Check the operating limits for the exact camera, phone, battery and power bank. Apple specifies an ambient operating range of 0–35°C for iPhone and iPad; Harbin's outdoor winter conditions can fall below it. A warm pocket or weather-resistant cover does not certify equipment for temperatures outside its rating. Plan around the equipment's limits and stop if it shows a temperature warning or behaves abnormally.
Keep charging separate from the outdoor session. Allow equipment to return naturally to the manufacturer's permitted charging conditions and ensure connections are dry. Apple notes that a cold device may stop charging; do not bypass a temperature hold or heat equipment with a hairdryer, radiator or directly applied hot pack.
Prepare Before Entering a Warm Room
Condensation is moisture forming when cold equipment meets warmer, moist air. Sony's camera precautions describe sealing the camera in a plastic bag before that transition. While still outside, put dry equipment into a suitable dry, sealable bag and close it before entering; leave it closed while the equipment gradually reaches the warmer temperature. This reduces exposure to humid indoor air, but is not an absolute guarantee against condensation.
Do not seal visible snow or water in with the camera. Follow its manual for surface moisture, and avoid unnecessary opening of compartments or lens changes during the transition. A short café stop may need to be a rest for the equipment as well as for you; leave it packed rather than immediately using it indoors.
If moisture appears, stop using the equipment and follow its specific instructions. For example, Canon's EOS R5 Mark II manual says to switch off and not remove the lens, card or battery while condensation is present. Do not turn another model's instructions into a universal rule, force warming, or prescribe one waiting time for every device. Persistent internal fog or suspected water ingress needs manufacturer support.
Tripods, Drones and Responsible Photography
A tripod can help with static night scenes, but bring it only if the location allows it and you are willing to carry it. Ask the venue about restrictions, especially in crowded areas or indoor spaces. Keep legs out of pedestrian routes, never cross barriers, and distinguish ordinary holiday pictures from a commercial shoot that may need separate permission.
Ask before close portraits and accept a refusal. Keep paths clear, respect closed areas and use authorised river viewpoints.
A drone is unnecessary for this itinerary. China's civil aviation regulator identifies the UOM platform for registration and airspace information. If considering one, check the current requirements for your aircraft and operation, airspace controls and any approvals, alongside venue restrictions. Registration alone does not authorise every flight; park consent does not replace airspace permission.
A 2-Day Harbin Itinerary for Ice Festival and City Photography
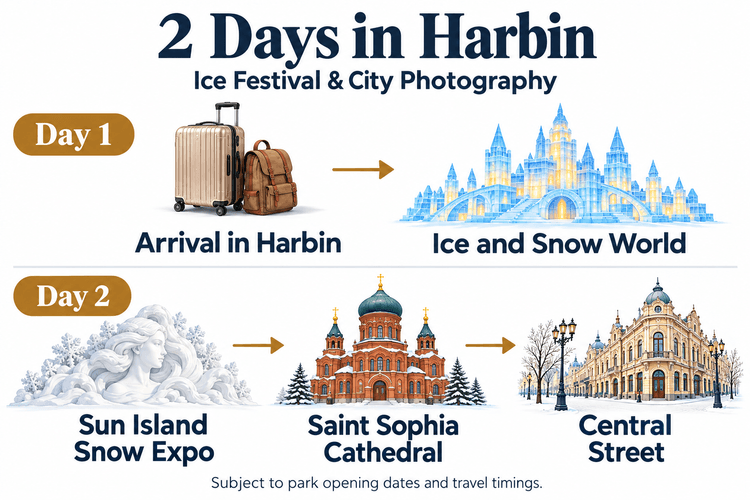
Silk Road Travel's 2-Day Harbin Highlights Tour places Ice and Snow World on arrival day, followed by Sun Island, Saint Sophia Cathedral and Central Street on Day 2. Use that sequence as a starting point, with the photography priorities below agreed before booking. Seasonal parks must be open, and arrival and departure times must allow the visits.
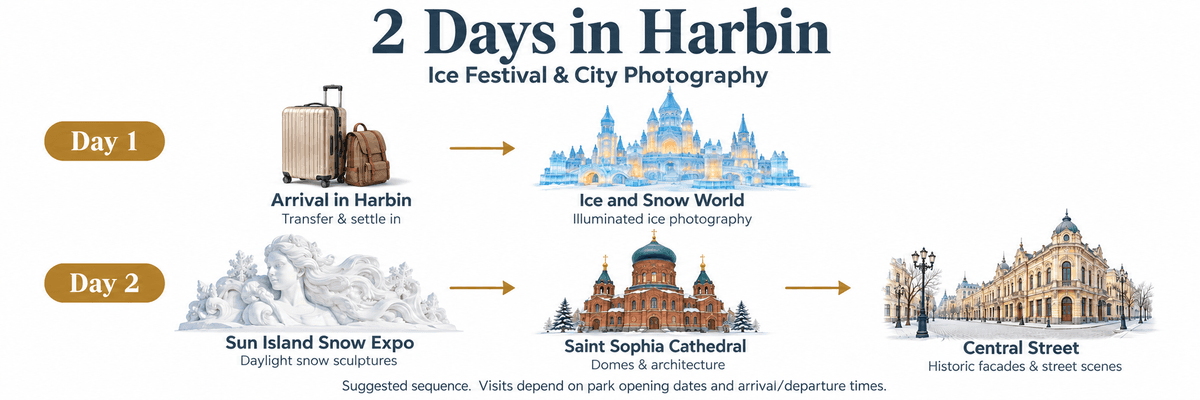
Day 1: Arrive and Photograph Ice and Snow World
Allow time for the transfer, check-in and a warm meal before the park. If arrival and admission arrangements allow, reach your priority scene before daylight fades, then photograph the illuminated ice. With a later arrival, concentrate on night scenes instead of rushing to catch twilight.
Choose a few compositions, include an indoor break and agree the return pickup. Check lighting and last admission separately; an evening visit does not guarantee blue-hour photographs.
Day 2: Sun Island Snow Sculptures and City Architecture
Use daylight at Sun Island for carved details and figures showing scale. After lunch and a warm break, continue to Saint Sophia and Central Street for domes, facades and street photographs. Follow the confirmed transfer order and shorten the final session if departure requires it.
When to Choose a Longer Harbin Tour
If you want longer sessions or arrive late, consider the 3-Day Harbin City Tour. Its published route includes the main city and ice attractions plus Volga Manor. Discuss redistributing sightseeing before booking; extra days do not automatically reserve particular light. If weather or a closure affects a park, agree an indoor alternative. These are sightseeing routes, without guaranteed photography instruction or special access.
Should You Add Snow Town or Yabuli?
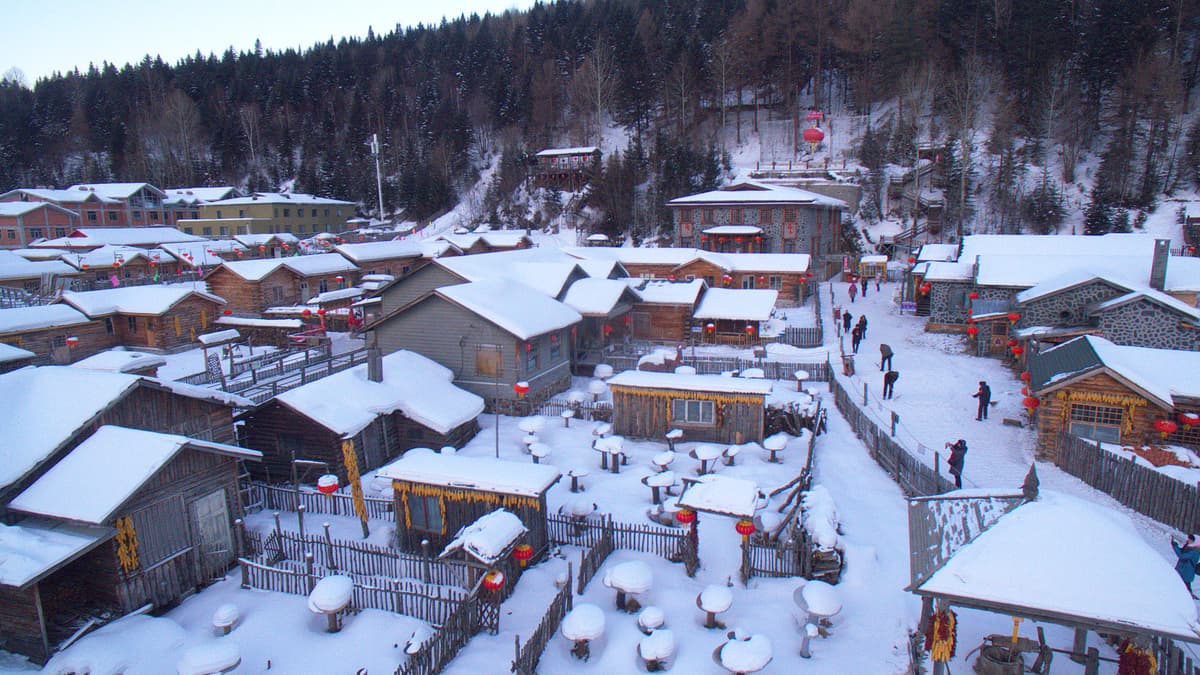
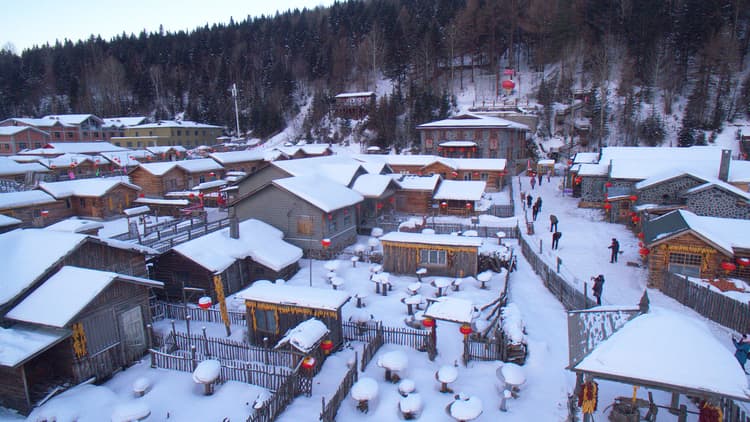
Snow Town suits village scenes, snowy roofs and evening lights, with an overnight stay allowing different views. Confirm accommodation, meals and transfers; weather affects scenery and travel. Fresh snow cannot be promised.
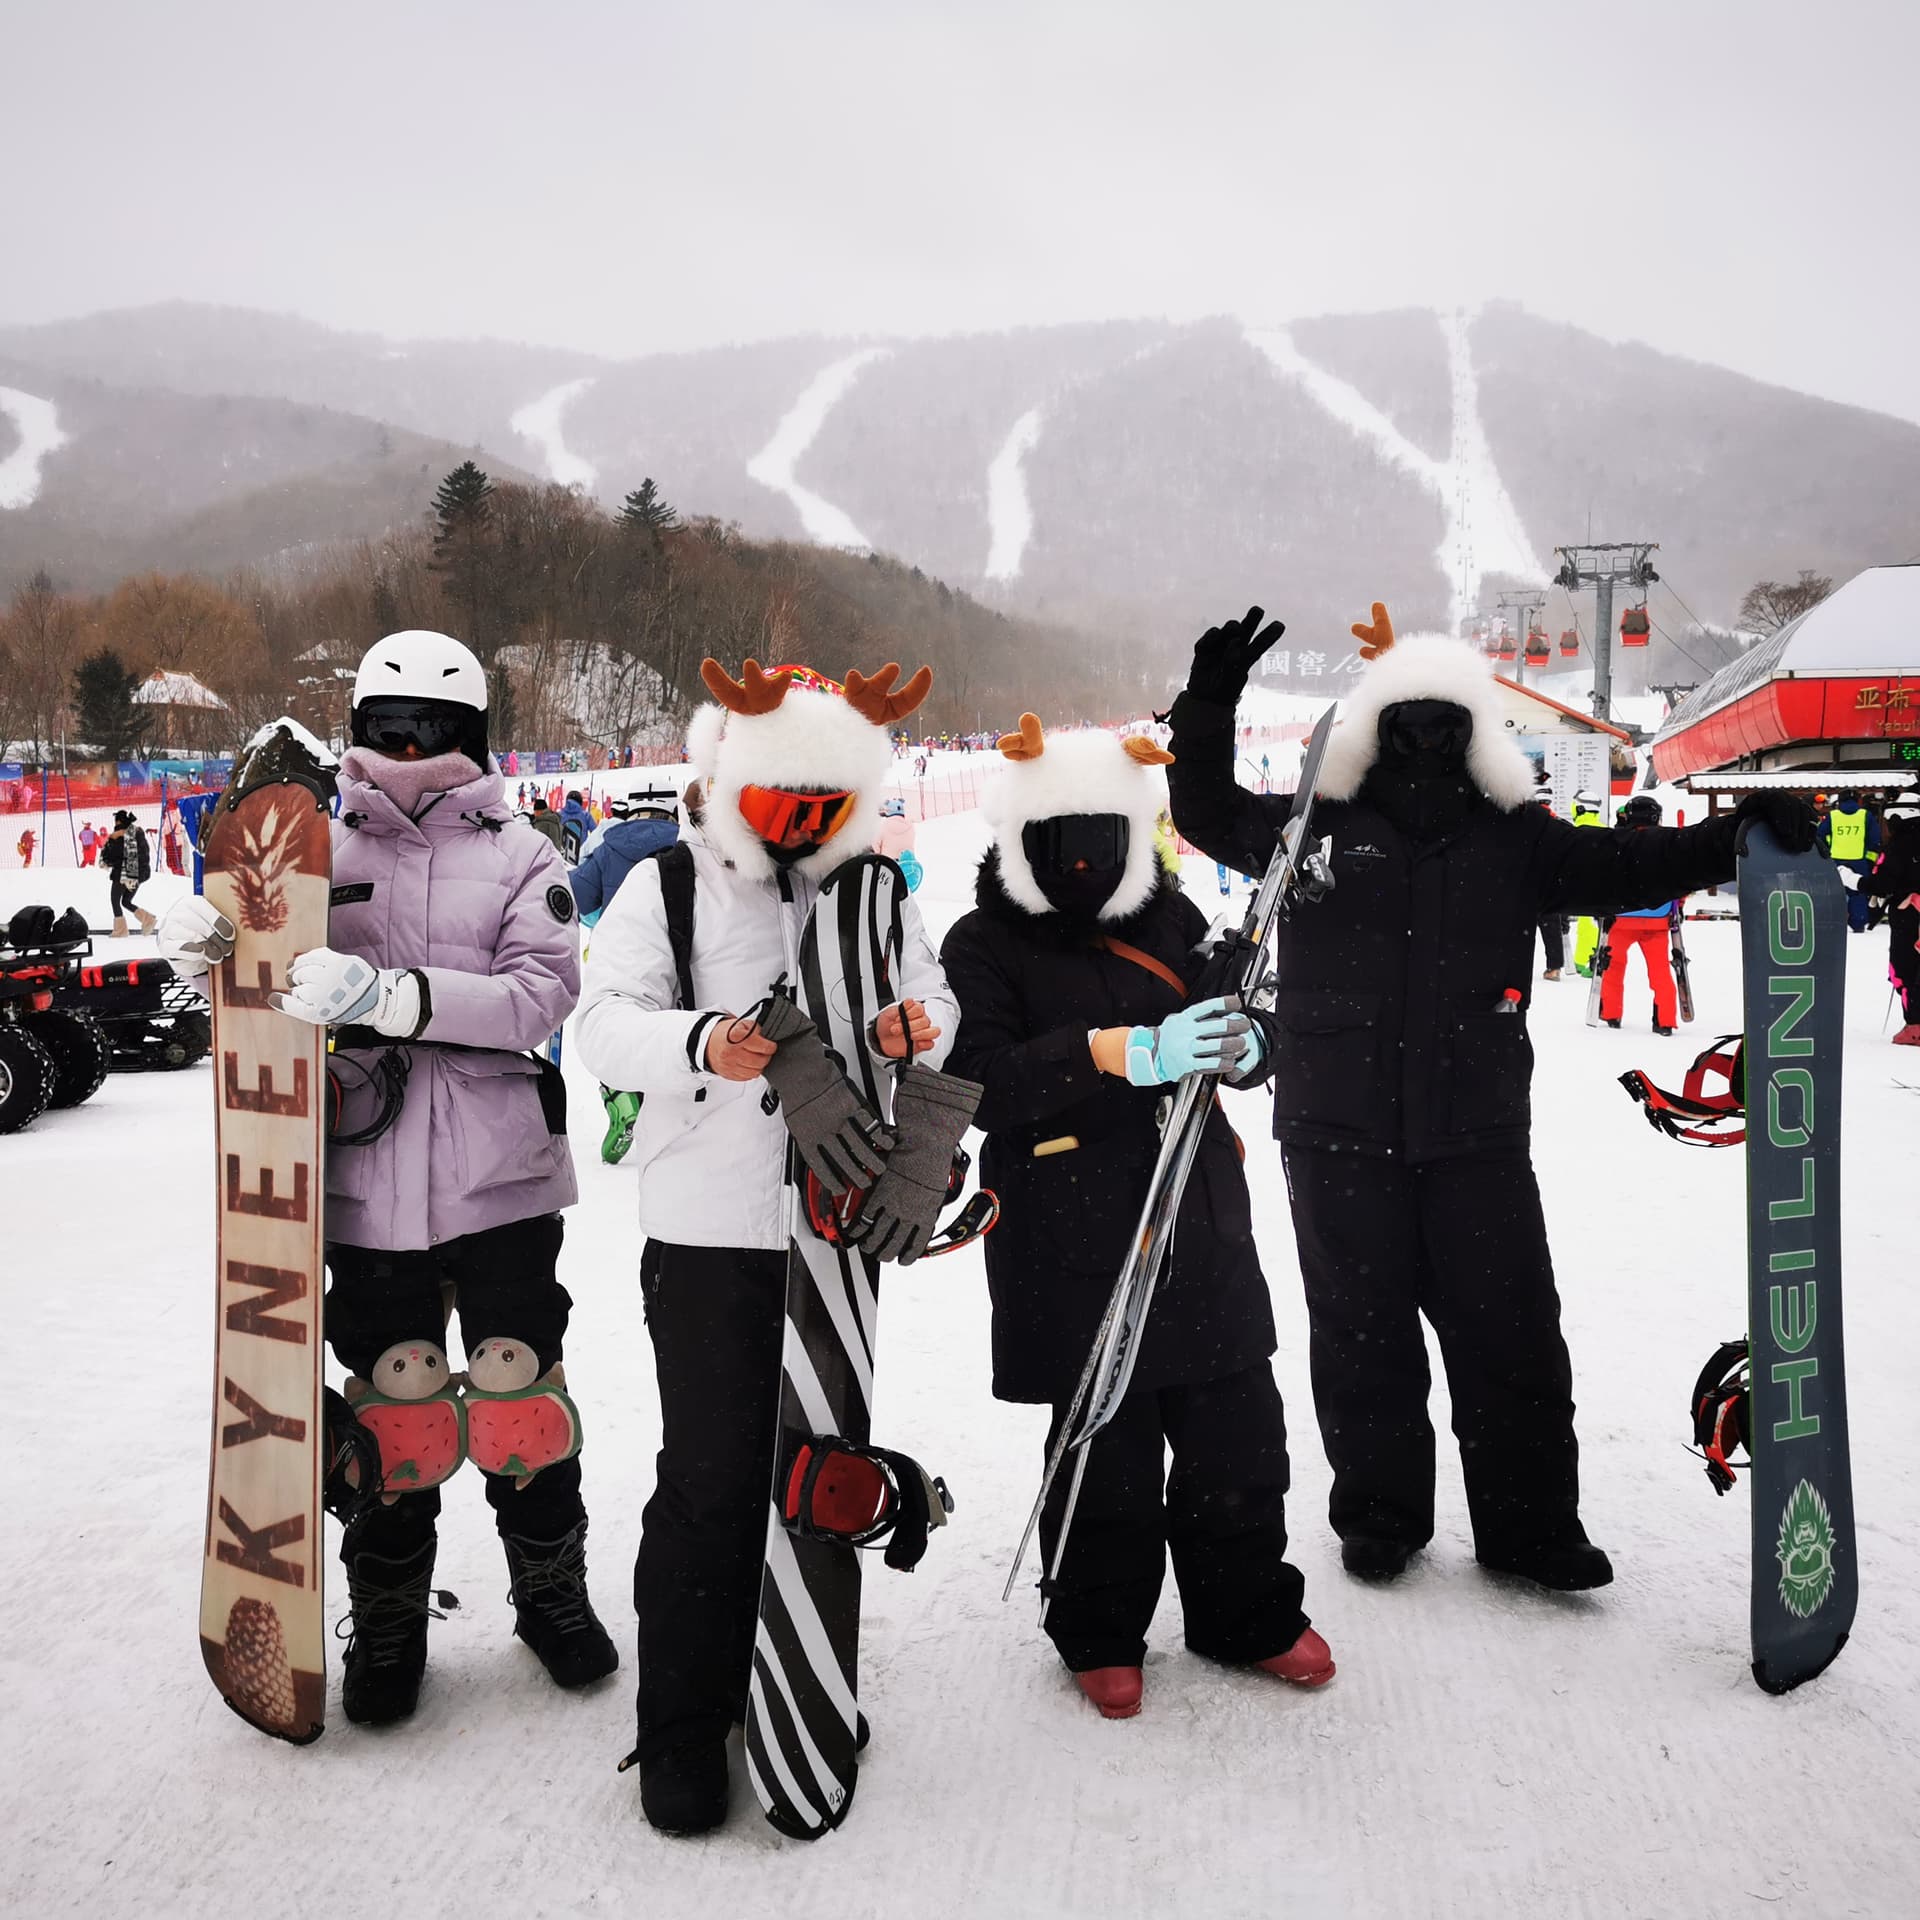
Yabuli suits ski travel and mountain surroundings. Arrange equipment carriage and ask where spectators may stand; never stop on a ski run to photograph someone approaching. Confirm any lesson, lift or spectator access separately, and do not promise snowfall or rime ice.
Allow extra travel time and possibly nights. The Harbin, Snow Town and Yabuli route is a starting point, without guaranteed light or specialist access.
FAQs About Photography in Harbin in Winter
·Where Are the Best Places for Winter Photography in Harbin?
Choose Sun Island for daylight snow sculptures and Ice and Snow World for illuminated ice. Saint Sophia, Central Street and Laodaowai suit architecture; permitted Songhua waterfront paths offer river views. Select nearby subjects rather than trying to cover every location.
·Can I Photograph Harbin's Ice Festival with a Phone?
Yes. A clean lens, clear composition and suitable light matter more than a specialist camera. Check your phone's temperature limits and avoid relying on a long night exposure for moving people.
·What Is the Best Time to Photograph Ice and Snow World?
Daylight shows texture; evening illumination emphasises colour. Transition light can balance sky and lights if the park's actual lighting and admission arrangements coincide with it.
·Do I Need a Tripod for Night Photography in Harbin?
Not for most daytime photographs or many handheld travel pictures. It is most useful for static low-light scenes, where permitted, and cannot prevent a moving subject from blurring.
·How Do I Keep Camera Batteries Warm in Harbin?
Use individual protection for the contacts and keep spares in an inner pocket, within their handling specifications. Keep them away from loose metal objects and direct heat.
·How Can I Reduce Camera Condensation in Harbin?
Prepare it for the temperature transition while still outside, following its manual. A sealed dry bag can reduce exposure to warm humid air; allow gradual acclimatisation before opening.
·Can I Photograph the Frozen Songhua River?
Yes, from permitted land-side paths and viewpoints. Frozen appearance does not establish safe or authorised access onto the river itself.
Plan Your Harbin Winter Trip
Browse Silk Road Travel's Harbin tours and share your dates, group size, photography interests and preferred pace. Mention any Snow Town or Yabuli plans and ask for time for meals, warm breaks and equipment acclimatisation. Confirm the written itinerary's inclusions; ordinary sightseeing arrangements do not automatically include photography instruction, reserved viewpoints or filming permits.